
Table of Contents
The Best Cheesecake Recipe That’s Creamy, Foolproof, and Water-Bath-Free
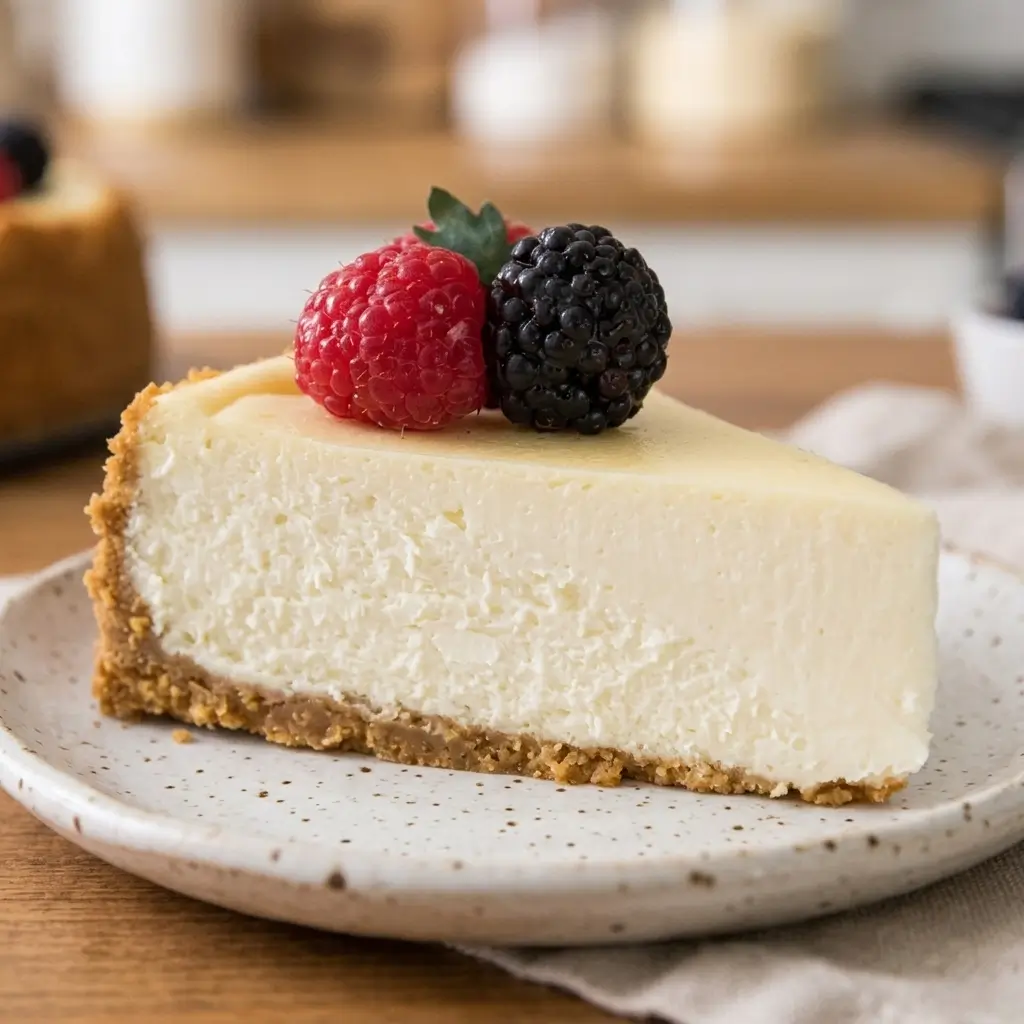
You know that cheesecake. The one that’s perfectly smooth, impossibly creamy, with a buttery graham cracker crust and a top that doesn’t crack. The one you order at a restaurant and savor every single bite. The one you think you could never make at home. That’s this cheesecake.
And here’s the secret: there’s no water bath required.
That’s right. No foil-wrapped pans, no boiling water, no anxiety about leaks. Just a simple, straightforward method that yields a cheesecake so creamy and perfect you’ll wonder why you ever thought it was hard. The edges bake up slightly puffed and golden, the center stays jiggly and luscious, and the whole thing sets into a silky, sliceable masterpiece.
I started making this when I wanted a cheesecake that didn’t require a PhD in baking. It’s become my go-to for birthdays, holidays, and any time I need a dessert that impresses without stressing me out. It’s simple, it’s reliable, and it’s absolutely delicious.
Why This Cheesecake Works
- No Water Bath Needed. The low oven temperature and gradual cooling prevent cracks naturally.
- Perfectly Creamy Texture. The combination of cream cheese, sour cream, and eggs creates a silky, dense filling.
- Simple, Foolproof Method. Mix, bake, cool, chill. That’s it.
- Beautiful Results Every Time. Golden edges, creamy center, no cracks.
What You’ll Need
For the Graham Cracker Crust:
- 1½ cups graham cracker crumbs (170g)
- 2 tablespoons sugar
- 1 tablespoon brown sugar
- 7 tablespoons butter, melted
For the Cheesecake:
- 32 oz cream cheese, softened to room temperature (910g)
- 1 cup sugar (200g)
- ⅔ cup sour cream (160g)
- 1½ teaspoons vanilla extract
- ⅛ teaspoon salt
- 4 large eggs, room temperature, lightly beaten

Let’s Make It
(The classic cheesecake that’s creamy, dreamy, and worth every second of the wait)
Step 1: Preheat and Prep
Go ahead and preheat your oven to 325°F (160°C). It needs to be nice and steady before that cheesecake goes in.
Step 2: Make the Crust
In a bowl, combine the graham cracker crumbs, sugar, and brown sugar. Give it a good stir so everything’s evenly mixed. Add the melted butter and use a fork to work it all together until the crumbs are evenly moistened—it should look like wet sand. Pour the crumbs into a 9-inch springform pan and press firmly into the bottom and up the sides. Take your time here and really pack it in. Set it aside while you make the filling.
Step 3: Make the Filling
In the bowl of a stand mixer—or a large bowl with a hand mixer—beat the cream cheese until it’s smooth and creamy. And here’s a little tip: don’t over-beat it. You don’t want to incorporate too much air, or the cheesecake will puff up and then crack. Just beat until it’s smooth, and you’re good.
Step 4: Add the Sugar
Add the sugar and stir again until it’s creamy and well combined. Scrape down the sides of the bowl as you go—it’s a little habit that makes a big difference.
Step 5: Add the Sour Cream, Vanilla, and Salt
Add the sour cream, vanilla extract, and salt. Stir until everything’s well combined, pausing periodically to scrape the sides and bottom of the bowl. That sour cream is what gives this cheesecake its signature tang and creaminess.
Step 6: Add the Eggs
With the mixer on low speed, gradually add the lightly beaten eggs, one at a time, stirring just until each egg is incorporated. Don’t rush this—add them slowly, and stop mixing as soon as each one disappears into the batter. Once all the eggs are in, scrape the bowl one more time to make sure everything’s combined. Gentle is the name of the game here.
Step 7: Bake
Pour the cheesecake batter into your prepared springform pan. Place the pan on a cookie sheet lined with foil—just in case anything leaks, this saves you from a mess in the oven. Bake on the center rack for 50 to 60 minutes, until the edges are slightly puffed and just beginning to turn golden, and the center springs back to the touch but is still jiggly. Don’t over-bake it—that jiggle is your friend.
Step 8: Cool Gradually
Remove it from the oven and let it cool on top of the stove for 10 minutes. Then use a knife to gently loosen the crust from the inside of the pan—this little trick helps prevent cracks. Don’t remove the ring yet, just loosen it.
Step 9: Cool to Room Temperature
Let the cheesecake cool for another 1 to 2 hours, or until it’s near room temperature. This gradual cooling is what keeps the top smooth and beautiful.
Step 10: Chill
Transfer it to the refrigerator and chill overnight—or at least 6 hours if you can’t wait that long. This is the step that turns it into the creamy, sliceable masterpiece you’re dreaming of. Patience pays off.
Step 11: Serve
When you’re ready, remove the ring of the springform pan and slice yourself a piece. Take a bite, close your eyes, and enjoy every creamy, dreamy second.
Now go ahead—slice it up, share it (or don’t), and enjoy every single bite. You just made a classic cheesecake from scratch, and it’s absolutely beautiful. 🍰✨
A Few Things I’ve Learned
- Room-temperature ingredients are non-negotiable. Cold cream cheese and eggs will leave lumps and cause cracks.
- Don’t over-beat. Mix just until combined. Over-beating adds air, which causes cracks and a less creamy texture.
- Don’t over-bake. The center should still be jiggly when you take it out. It will set as it cools.
- Cool gradually. The gradual cooling on top of the oven and then at room temperature is the secret to a crack-free top.
Variations
- Chocolate Cheesecake: Add ½ cup melted chocolate to the batter.
- Lemon Cheesecake: Add 2 tablespoons lemon juice and 1 tablespoon lemon zest.
- Berry Swirl: Swirl ½ cup berry jam into the batter before baking.
- Oreo Crust: Use crushed Oreos instead of graham crackers.
- Salted Caramel: Drizzle caramel sauce over the cooled cheesecake.
Your Cheesecake Questions, Answered
Q: Do I really not need a water bath?
A: No water bath needed. The low oven temperature and gradual cooling prevent cracks.
Q: Why did my cheesecake crack?
A: Cracks usually happen from over-baking, over-beating, or cooling too quickly. Follow the gradual cooling steps.
Q: Can I use low-fat cream cheese?
A: Full-fat cream cheese is recommended for the best texture and flavor.
Q: How long does cheesecake last?
A: Up to 5 days in the fridge. Freeze for up to 2 months.
Q: Can I make this ahead of time?
A: Yes. It’s best made a day ahead. The flavors meld and the texture sets perfectly.
More recipes
- Easy Apple Tart with Puff Pastry (So Elegant!)
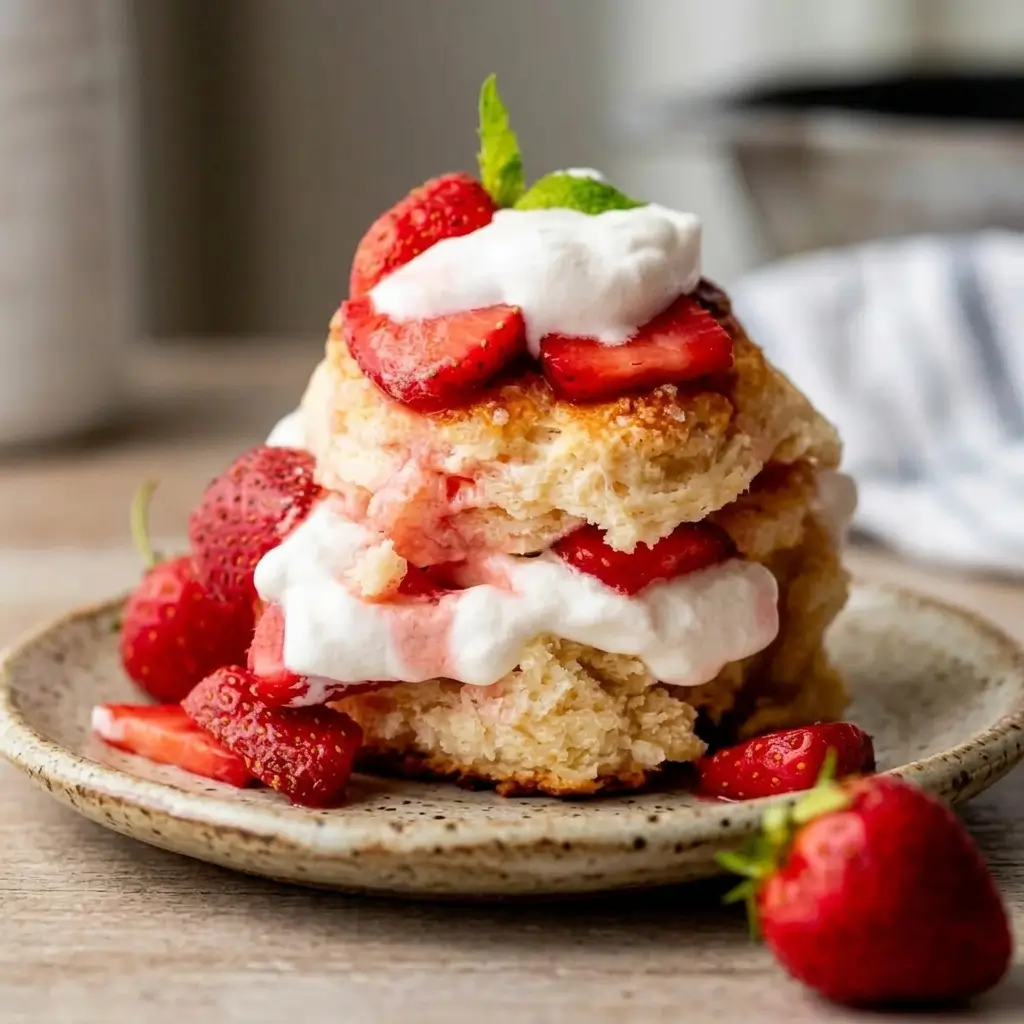
- Easy Strawberry Shortcake for Gatherings
- Homemade Strawberry Shortcake (Summer Classic!)
- Classic Lemon Meringue Pie (Old-Fashioned Recipe)

Easy Cheesecake Without a Water Bath
Course: DessertCuisine: AmericanDifficulty: Intermediate12
slices20
minutes1
hour15
minutes500
kcal6
hours500 Calories | 8g Protein | 32g Carbs | 36g Fat
7
hours35
minutesThe BEST Cheesecake Recipe creamy, smooth, and no water bath required! This classic cheesecake has a buttery graham cracker crust and a velvety texture. Perfect for any occasion!
Ingredients
For the Graham Cracker Crust:
1½ cups (170g) graham cracker crumbs
2 Tbsp granulated sugar
1 Tbsp brown sugar
7 Tbsp (100g) unsalted butter, melted
For the Cheesecake:
32 oz (910g) cream cheese, softened to room temperature
1 cup (200g) granulated sugar
⅔ cup (160g) sour cream
1½ tsp vanilla extract
⅛ tsp salt
4 large eggs, room temperature, lightly beaten
Directions
- Preheat oven to 325°F (160°C).
- Combine graham cracker crumbs, sugar, and brown sugar. Add melted butter and mix until evenly moistened. Press into a 9-inch springform pan. Set aside.
- Beat cream cheese until smooth and creamy. Don’t over-beat.
- Add sugar and stir until creamy.
- Add sour cream, vanilla, and salt. Stir until well combined, scraping the bowl as needed.
- With mixer on low, gradually add eggs one at a time, stirring just until incorporated. Scrape the bowl.
- Pour batter into prepared pan. Place on a foil-lined cookie sheet.
- Bake 50–60 minutes until edges are slightly puffed and center is jiggly but springs back.
- Cool on top of the oven for 10 minutes. Loosen crust from pan with a knife.
- Cool 1–2 hours until near room temperature.
- Refrigerate overnight or at least 6 hours.
- Remove springform ring before serving. Slice and enjoy.
Notes
- Room-temperature cream cheese and eggs are essential. Cold ingredients cause lumps.
- Don’t over-beat. Over-beating incorporates too much air, which can cause cracks.
- Don’t over-bake. The center should still be jiggly when you take it out. It will set as it cools.
- Cool gradually. Cooling on top of the oven and then at room temperature prevents cracks.
- Storage: Keep in the fridge for up to 5 days. Freeze for up to 2 months.



Leave a Reply